I’ve been wanting to get some painting equipment for a while now. My brush paint applications had the disadvantage of being thick and showing the brush strokes. I needed to invest in a more serious tool. The airbrush. But I don’t know why, I was afraid. I thought it was technical, that you had to be careful not to get it all over the room. But that’s okay, I decided to take the plunge and get started. We’ll see. If you have to go through that to get a nice result.
After some research I focused my choice on the Revell brand which offers a range of airbrushes as well as paint. We can find the range without too much difficulty.
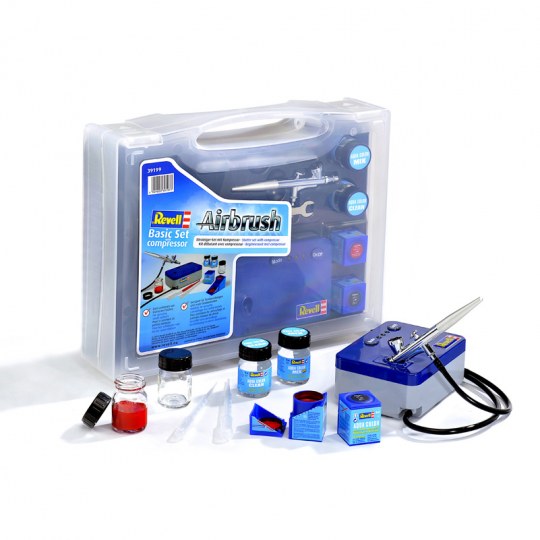
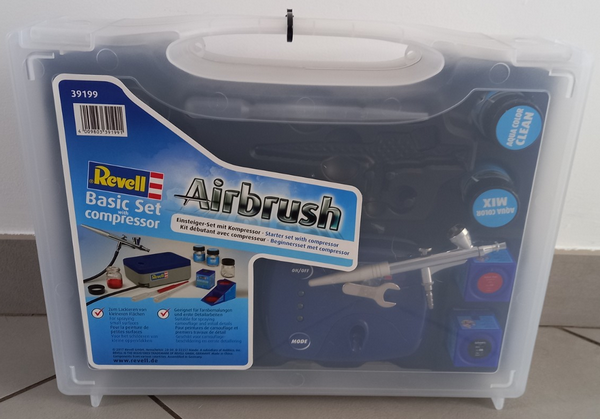
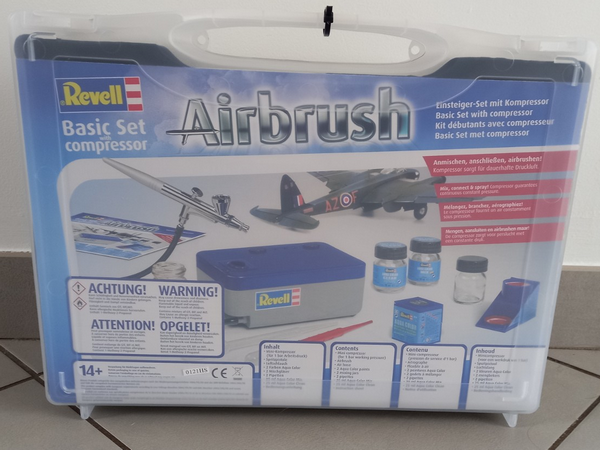
I focused my choice on the Airbrush Basic Set with compressor which has the advantage of being complete and autonomous. Reference 39199 ( https://www.revell.de/fr/produits/a-rographe/sets-complets/airbrush-basic-set-avec-compresseur.html )
The kit includes everything you need to get started in good conditions, we find:
- The airbrush
- the compressor with its 220V power supply
- The pipes to connect the two previous elements
- Two pots of paint (black and red from the Aqua range)
- A pot of Aqua Color Mix paint thinner
- A pot of Aqua Color Aqua airbrush cleaner
- Two glass pots to prepare the paint
- Two dosing pipettes for mixing and diluting.
The assembly is quick, just connect the hose on each side and plug in the compressor power supply.
For my first time, I decided to do a test with water only to see how it is diffused. The airbrush tank (or cup) is not very big, it is a simple cone on the top. Instinctively we tell ourselves that we must be careful not to spill it but once in hand, no problem naturally we keep it upright. The compressor has a small housing to place the airbrush in the right position to fill it.
The compressor has three compressed air speeds. The air is diffused continuously in the airbrush and comes out of the tip of the gun. A little pressure back on the index finger allows you to adjust the paint flow. Good surprise, the water does not diffuse everywhere but on the targeted area. The possibility of adjusting the flow allows you to cover more or less according to the need. The test being very positive, it is now time to prepare the paint.
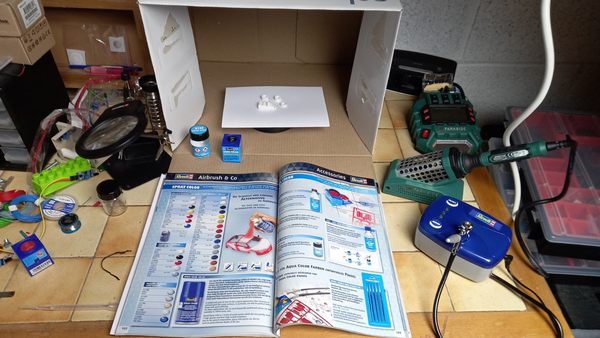
Despite the little diffusion of paint outside the target, I put the objects in a cardboard box to make like a paint booth. In order to easily turn the objects and have them painted evenly, I put a small turntable. Between each spray, the objects will be easy to rotate.
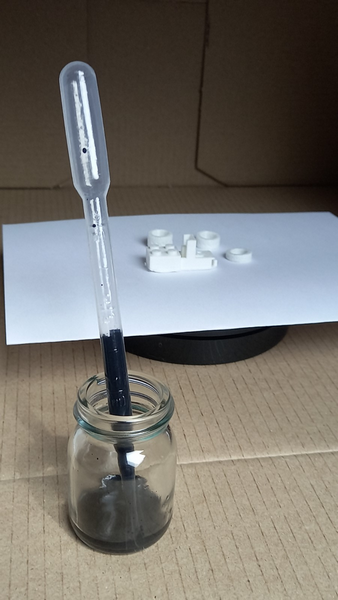
You have to prepare the paint. The documentation provided indicates that you need 4 volumes of paint for one volume of water or thinner. It’s not easy to find at a glance on the instructions, but on the Revell catalog on the Aqua Color paints page, it’s written in large.
It’s not easy to estimate the volume of paint needed. I’m starting with 2ml of paint and 0.5ml of thinner. It’s relatively easy to take with the pipettes provided. On the other hand, after taking the paint, the pipette will not be reusable. I found a pack of 100 pipettes for less than 5 euros on the Internet, so I’m safe. With 2.5ml of paint in the big pot, it leaves a lot of paint on the wall, next time I’ll try in a small test tube.
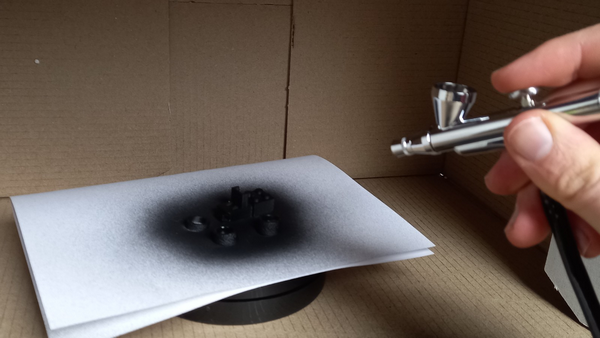
I mix the paint well with the thinner and put the paint in the airbrush cup and off we go. It’s even better than the water test because you can clearly see the paint on the surface. A few short sprays 10 cm from the objects while rotating the surface and the job is done in a minute. As the tank is small, you have to fill it several times if you have to cover a large surface.
Between each layer, you have to wait an hour for it to dry. It is especially important to clean the airbrush well after use. To do this, rinse the largest part with water and then with the cleaner provided. The manual explains well how to disassemble and clean it effectively. Finally, it is the cleaning phase that takes the most time.
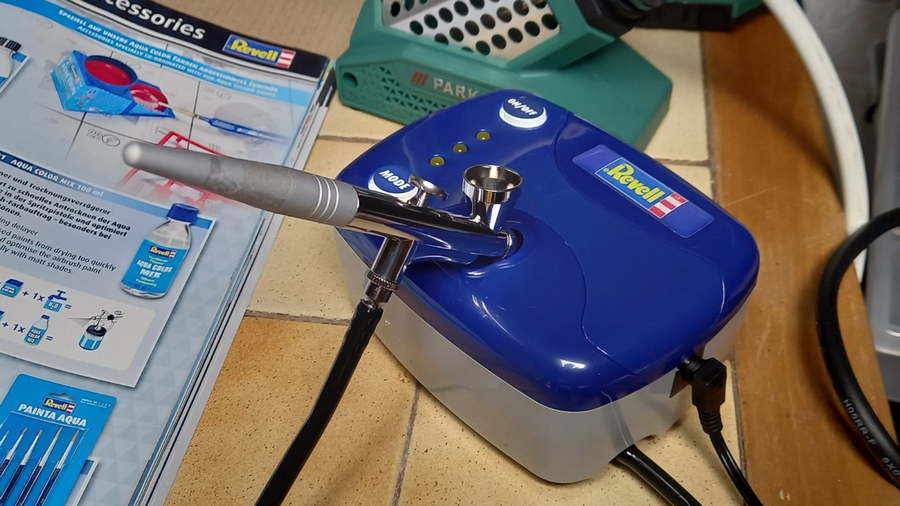
Airbrushing requires a lot of preparation time and especially cleaning, so you need to organize yourself to make several objects of the same color at the same time.
Summary:
I am very happy with my airbrush, finished painting large surfaces with a brush with blotches and brush marks. It took me a while to get started, I regret not having taken the step before.